

👟 How I Fix My Shoes With Fire (And Don’t Burn the House Down)
A beginner’s guide to the most dramatic home repair you’ll ever attempt
Let me paint you a picture. You’re running late, you grab your favourite pair of shoes, slip them on – and squelch. The sole is flapping open like a fish out of water. 🐟 You look down. The shoe looks up at you. It’s a betrayal of the highest order.
You could, of course, take them to a cobbler. Like a normal person. But where’s the fun in that?
🔥 Enter: The Fire Method
A friend of mine — Greg, the kind of person who fixes things with confidence rather than instructions – leaned over one day and said, “Mate, what you need is contact adhesive and a lighter.”
I raised an eyebrow. He raised the lighter.
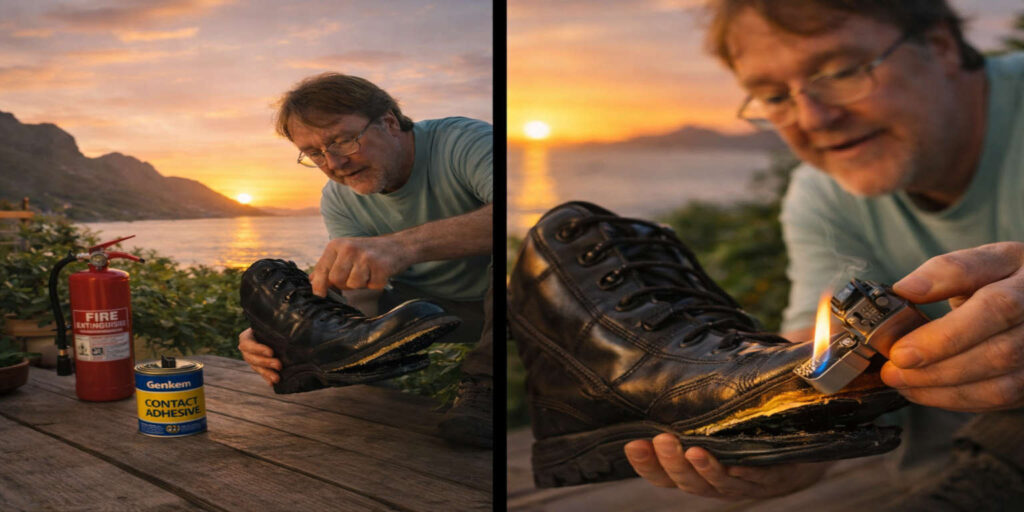
Here’s the thing: this method is genuinely old-school cobbler wisdom, and it works beautifully once you understand the science. Products like Genkem or Bostik Shoe Glue are solvent-based contact adhesives. Apply them to both surfaces, let them get tacky, then pass a brief flame over each side. The flame instantly burns off the solvent, fully activating the glue – while simultaneously giving the rubber sole a gentle kiss of heat that slightly softens it, helping it mould perfectly to the upper when pressed together. 🧪
The result? A bond that laughs in the face of puddles, long walks, and questionable dance moves.
🛠️ Here’s How You Do It
Follow these steps and you’ll feel like a craftsman. Skip them and you’ll feel like a cautionary tale.
Step 1 – Prep like you mean it. Roughen both surfaces with coarse sandpaper and clean off any dust or old glue. This step is unglamorous but non-negotiable. A good bond starts with good surfaces. 🪣
Step 2 – Apply the glue to BOTH sides. Thin and even is the goal. Slapping on a thick blob won’t make it stronger — it’ll just make a mess. Let both sides sit for a few minutes until tacky.
Step 3 – The fun part. 🔥 Working outdoors (seriously — those solvent fumes are no joke), pass a lighter or small flame briefly over each glued surface. You’ll see the glue flash; the flame should self-extinguish almost immediately. You want hot, not melting. There’s a difference.
Step 4 – PRESS. HARD. FAST. You have seconds. Slam those surfaces together while they’re still hot, press firmly by hand, then place the shoe sole-up on a flat surface. Stack a brick on top. Yes, an actual brick. This is not a metaphor. 🧱
Step 5 – Walk away. Leave it for several hours. Overnight is better. The longer you wait, the stronger the bond. Go make a cup of tea. You’ve earned it. ☕
💡 Why This Works Better Than Just Pressing Cold
Most people apply shoe glue, press the surfaces together for thirty seconds, and wonder why it peels apart again by Thursday. The problem is incomplete solvent evaporation – the bond never fully cures. The fire method forces instant, complete activation, while the heat softens the rubber just enough to create what engineers would call mechanical interlocking and what the rest of us would call really sticking together properly.
It’s the difference between a firm handshake and a full bear hug. 🤝 vs 🐻

✅ The Verdict
Will you feel slightly unhinged, crouching on your driveway with a lighter in one hand and a shoe in the other? Absolutely.
Will your neighbours give you a look? Almost certainly.
Will your shoes be fixed, properly, for a fraction of the cost of new ones – with a bond strong enough to outlast the rest of the shoe? Yes. Yes they will.
So next time a sole starts to flap, don’t panic. Don’t throw them out. Channel your inner cobbler, grab the Genkem, and remember: sometimes the old ways are the best ways. 🔥👟
Just make sure you have the fire extinguisher. Just in case.
Did you know that if your nose runs and your feet smell… you’re built upside-down? 😂🤣
Read More…
- Two Household Staples, One Brilliant Mechanic, and Headlights That Look Brand New 🚗✨
- Quick & Easy: The Interjamie Killergalactic “Roundgood” Munchie

Leave a Reply